
Requirements/Notes:
* Echo Drops recommended *see notes
* Level 35+ members have access to the Li'Telor Outpost to get here quickly.
* Supports 2 parties.
Fields of Valor:
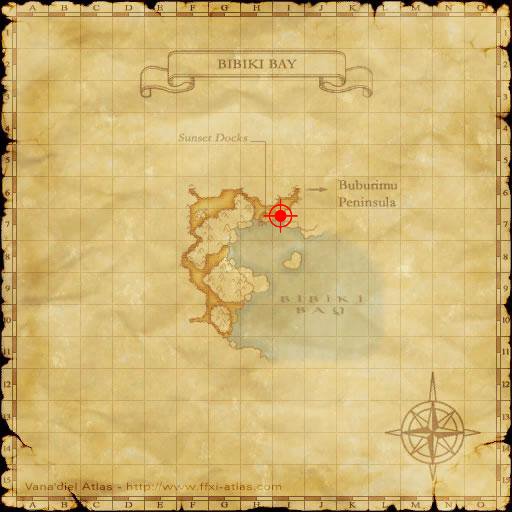
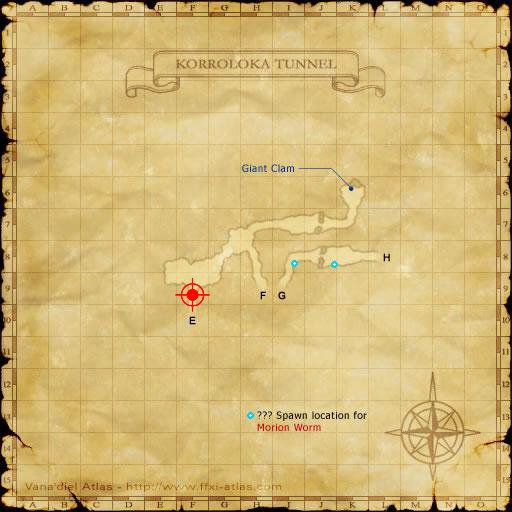
Book: (G-9), (E-11)
Page 1: 7x Ogrefly, 2x Goobbue Gardener (900xp/gil)


Target mobs:
Primary: Lesser Gaylas (34-37)
* Bat (Triplet)
* Aggro to Sound
* Links by Sound
* Weak to Piercing weapons
* Weak to Wind
* Weak to Light
* Strong against Darkness
Primary: Ogrefly (34-37)
* Fly
* Not Aggro
* Links by Sound
* Weak to Piercing weapons
* Weak against Ice
* Strong against Wind
Secondary: Goobbue Gardener (34-37)
* Goobbue
* Aggro to Sound
* Links by Sound
Secondary: Goblins (36-38)
* Goblin
* Aggro to Sight
* Links by Sight
* Weak to Light
Goblin Robber (THF)
Goblin Trader (BST)
Commentarus:
Note that party members that are at least level 35 and have completed a supplies quest to the Li'Telor region can use their respective nations' outpost teleporter to get here quickly.
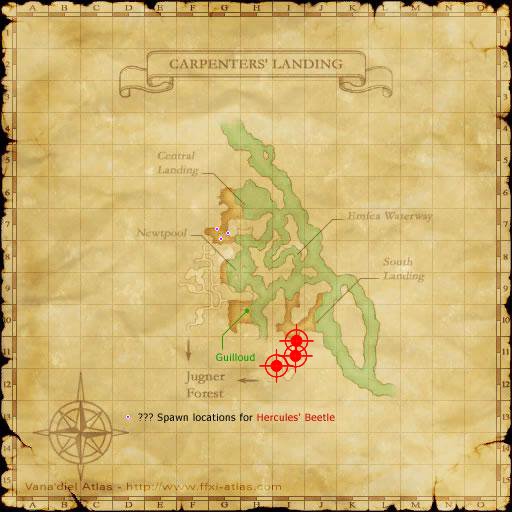
Of the camps marked, your secondary mob will vary depending on the camp. All three camps offer Lesser Gaylas and Ogreflies to xp on, however, the eastern camps are better suited for 34-37 parties, throwing in Goobbue Gardeners in the mix. The outpost camp is better suited for 35-38 parties, with the higher level Goblins instead.
All the mobs here are on a five-minute repop, and you are actually camping in the middle of quite a few spawn points, so be careful. Communication between party members is important to avoid links. Also note that the Outpost camp is not in front of the camp, where the gate guard and banner are, but behind the outpost instead. If you are using the regional teleports, be careful of goblin aggro where you land up.